
How to Create POV Images with Nano Banana 2
How to Create POV Images with Nano Banana 2
If you want to make point-of-view (POV) images that feel immersive, clear, and visually consistent, Nano Banana 2 can help you do it faster. This guide explains how to create POV images with Nano Banana 2, how to structure your prompt, and how to refine the result so it looks intentional instead of generic.
What Makes a Good POV Image?
A strong POV image makes the viewer feel like they are inside the scene. The main goal is perspective: the image should show what a person would naturally see from their own viewpoint.
Key idea
POV images work best when the prompt clearly describes:
- the viewer’s position
- the scene in front of them
- the visible hands, tools, or objects
- the environment, lighting, and mood
- the exact framing or camera angle
Practical advice
To get better results, avoid vague prompts like “POV scene” alone. Instead, describe the action and what the viewer should see. For example:
- “POV from a cyclist riding through a rainy city street”
- “POV of a chef plating a dessert in a modern kitchen”
- “POV of a traveler opening a hotel balcony door at sunrise”
The more specific the scene, the easier it is for Nano Banana 2 to generate a usable image.
How to Write a Strong Nano Banana 2 Prompt
Conclusion: The quality of your POV image depends heavily on the prompt structure.
Nano Banana 2 supports text/image-to-image generation and semantic editing, so you can guide both composition and style with precision.
Recommended prompt structure
Use a simple formula:
POV subject + action + environment + visual details + style or mood
Example prompt formula
- POV subject: “first-person view”
- Action: “holding a coffee cup”
- Environment: “in a cozy bookstore”
- Visual details: “soft daylight, shelves of books, shallow depth of field”
- Style: “realistic, cinematic, warm tones”
Example prompt
First-person POV of someone holding a ceramic coffee cup in a cozy bookstore, warm sunlight through large windows, shelves of books on both sides, cinematic realism, detailed hands, soft depth of field.
Practical advice
When writing prompts for Nano Banana 2:
- specify whether the image should be realistic, stylized, or editorial
- mention hand position if hands should appear in frame
- include lighting cues such as “morning light,” “neon glow,” or “soft studio lighting”
- define composition, such as “wide angle,” “close-up POV,” or “over-the-table perspective”
If you want a series of images with the same character or brand look, keep the wording consistent across prompts.
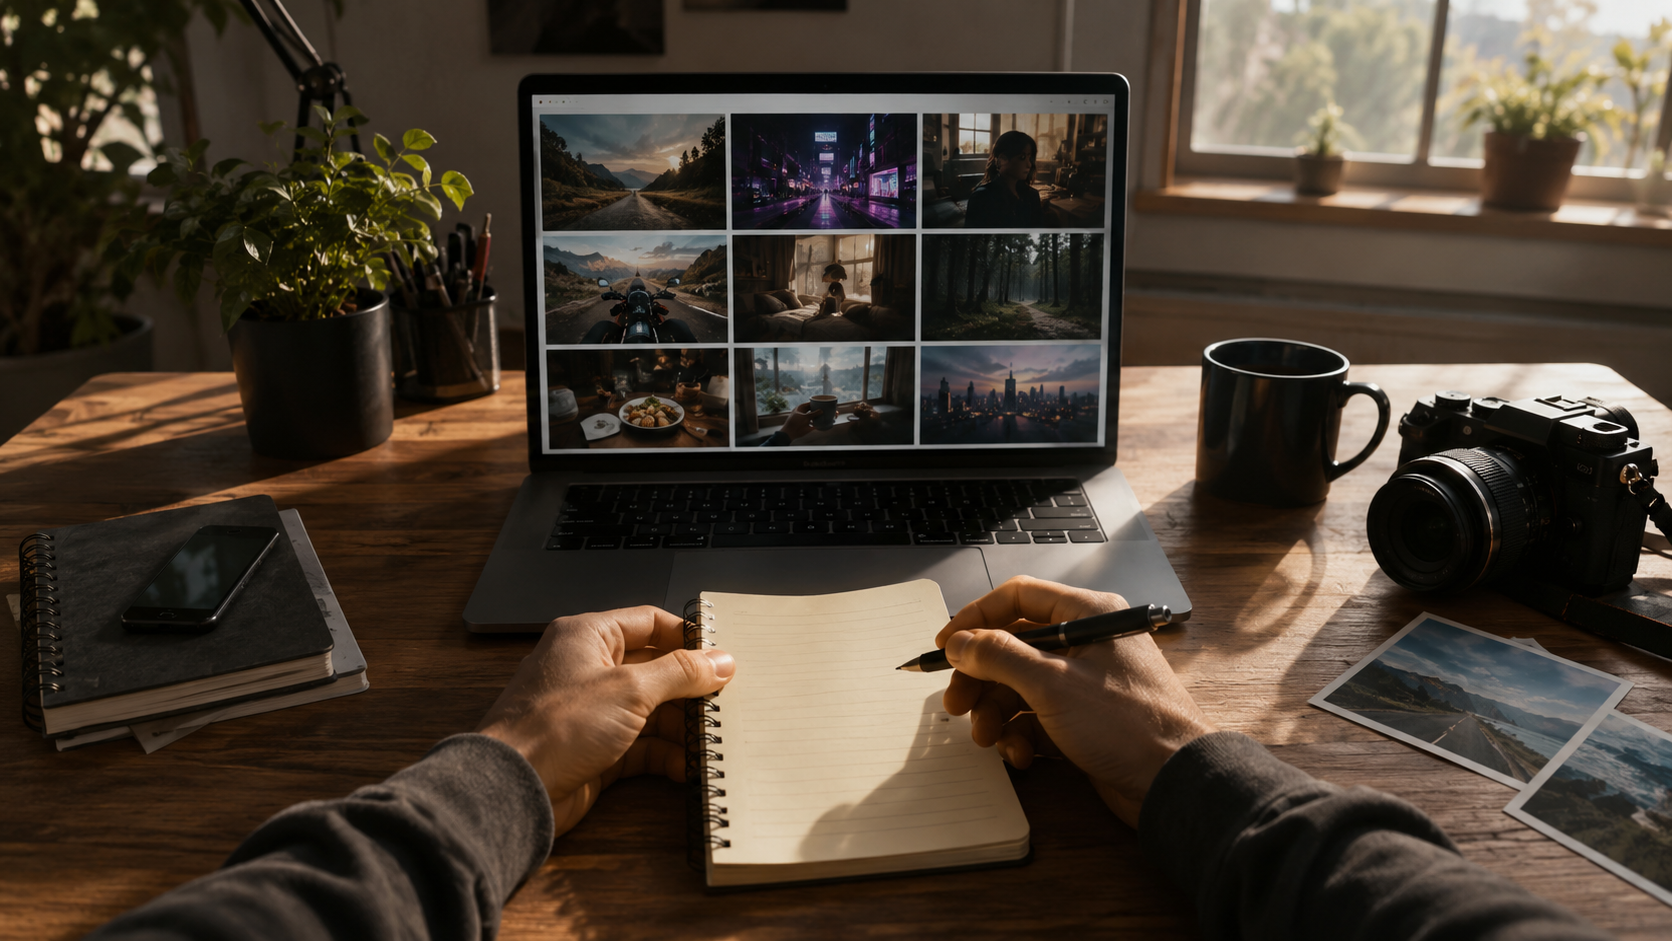
Step-by-Step: How to Create POV Images in Nano Banana 2
Conclusion: The simplest way to create a good POV image is to start with a clear brief, generate a first version, then refine details semantically.
Step 1: Set your brief and references
Add your prompt and, if needed, reference images. Nano Banana 2 supports up to 14 reference images, which helps when you want a specific style, object design, or visual identity.
Step 2: Choose the right framing
Decide on the output ratio and resolution before generating. This matters because POV images often rely on composition:
- wide framing for landscapes, action, or travel scenes
- tighter framing for product, food, or tabletop scenes
- larger formats for posters or storytelling visuals
Step 3: Generate the first version
Generate the image in one click. The model is designed for fast output, so you can quickly check whether the perspective feels natural and whether the main subject is clear.
Step 4: Refine semantically
If something is off, use semantic editing instead of starting over. You can:
- replace an object
- extend the scene
- remove unwanted marks
- adjust details while keeping lighting aligned
Step 5: Export and reuse
Once the image looks right, export the final 1K, 2K, or 4K output. If you are building a series, reuse the same character, camera angle, or style direction for consistency.
Practical Prompt Templates for POV Images
Conclusion: Template-based prompting makes POV generation faster and more repeatable.
| Use Case | Prompt Template | Best For |
|---|---|---|
| Travel POV | First-person POV of [action] in [location], with [lighting], [mood], and [camera style]. | Travel visuals, lifestyle content |
| Food POV | First-person view of [hands/action] preparing or serving [food], in [kitchen/restaurant setting], with [style]. | Recipes, menu visuals, social content |
| Gaming POV | POV of [character/action] in [environment], dramatic lighting, immersive composition, high detail. | Gaming art, thumbnails, concept images |
| Product POV | First-person POV holding or using [product], clean background, realistic detail, brand-focused composition. | Ecommerce, marketing visuals |
| Story POV | POV from [character situation], showing [key scene elements], cinematic lighting, narrative realism. | Storyboards, editorial content |
Practical advice
Use the table above as a starting point, then adjust:
- the action for clarity
- the environment for realism
- the style for your target use case
- the mood for emotional impact
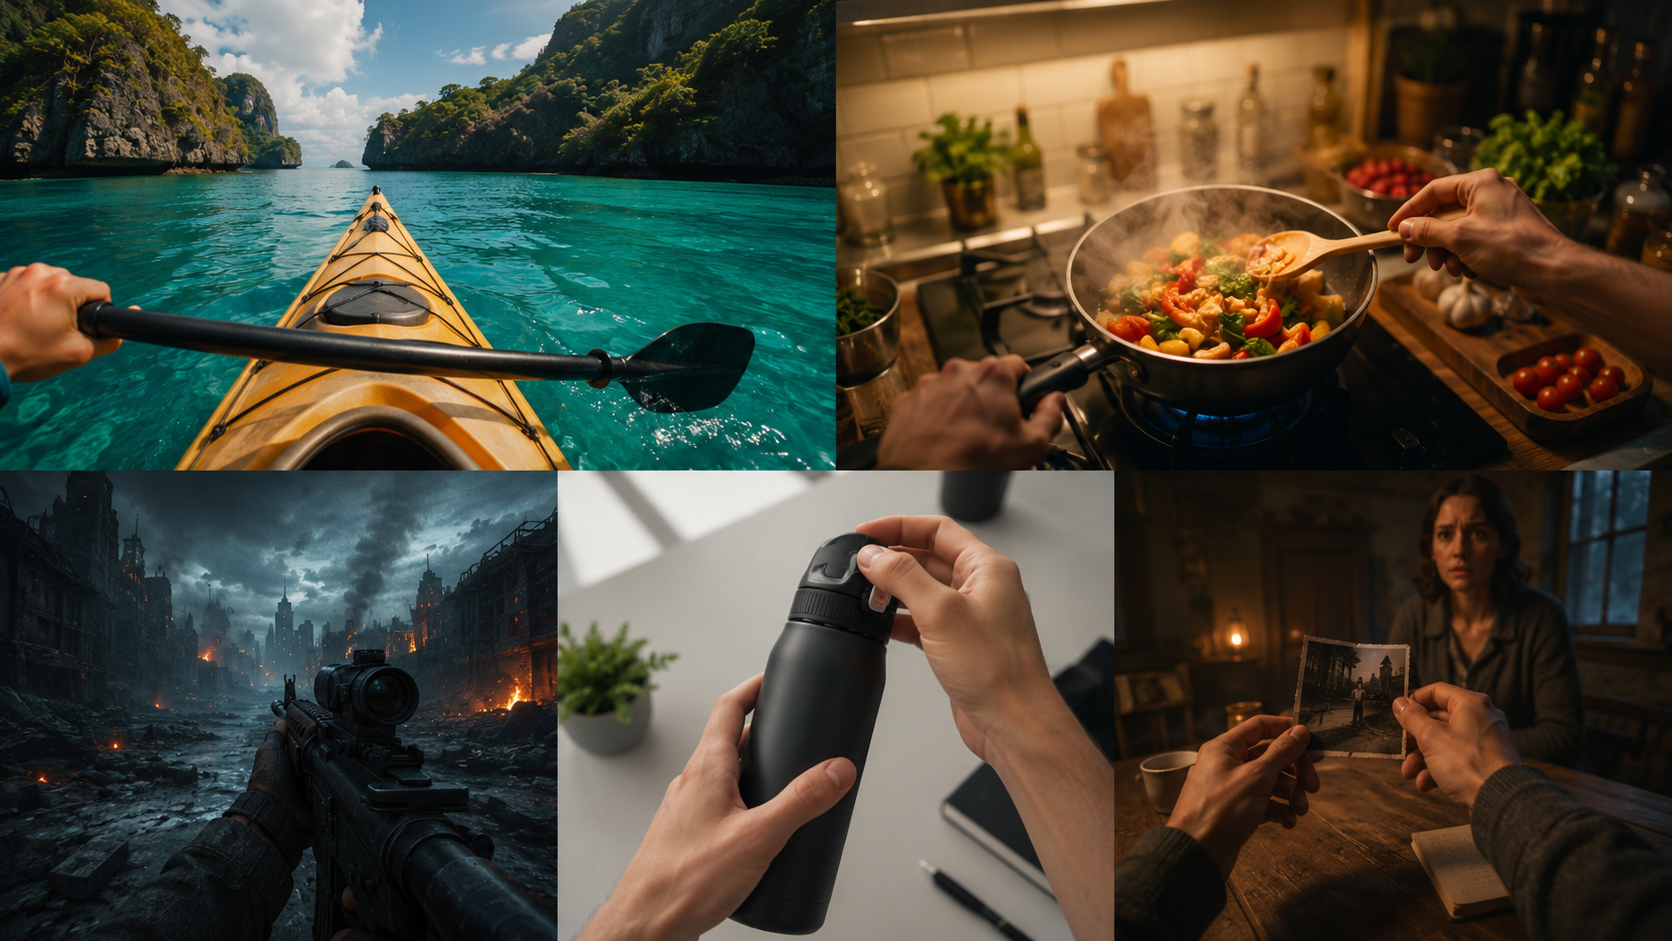
For search and content production, this also helps create a repeatable prompt library.
Tips for Better POV Results in Nano Banana 2
Conclusion: Small prompt changes can significantly improve POV realism and consistency.
1. Keep the viewpoint natural
A good POV image should feel physically believable. Mention where the viewer is standing, sitting, or moving.
Try this:
- “POV standing at a kitchen counter”
- “POV sitting inside a car”
- “POV walking through a market”
2. Describe what should be visible
If you want hands, tools, or objects in the frame, state that clearly.
Try this:
- “hands holding a camera”
- “one hand reaching for a door handle”
- “a notebook visible at the bottom of the frame”
3. Control the scene density
Too many objects can make a POV image confusing. Focus on one main action and a few supporting details.
Practical advice:
For stronger composition, keep the prompt centered on a single moment.
4. Use semantic editing when needed
If the first output is close but not perfect, refine it instead of regenerating blindly. Nano Banana 2 is built for smart edits that respect context, so you can improve the result while preserving structure and lighting.
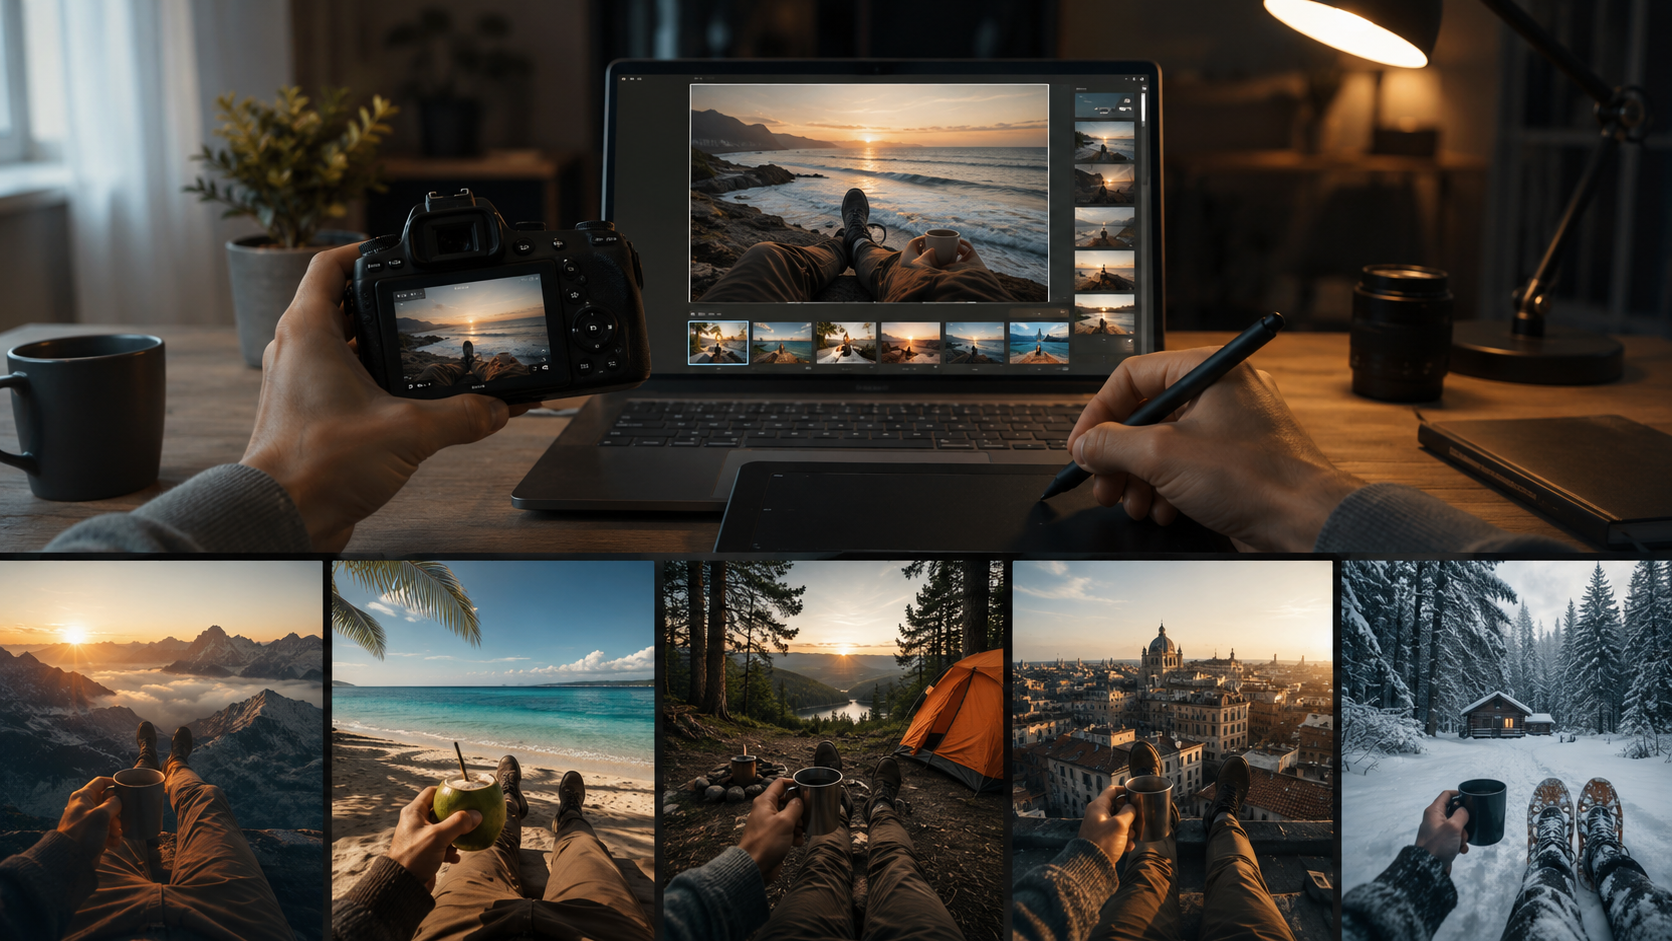
5. Maintain consistency across a series
If you are making multiple POV images for a campaign or story set, keep the language, framing, and style stable. This is especially useful for:
- brand content
- product tutorials
- storyboard sequences
- social media carousels
FAQ
What is a POV image?
A POV image shows a scene from the viewer’s perspective, as if the viewer is inside the moment.
Can Nano Banana 2 create realistic POV images?
Yes. Nano Banana 2 supports text/image-to-image generation and can produce detailed visuals with strong semantic control, which is useful for realistic POV scenes.
How do I make my POV prompt better?
Be specific about the subject, action, environment, lighting, and framing. Clear prompts usually lead to better composition and fewer corrections.
Can I use reference images?
Yes. You can provide reference images to guide style, objects, or visual consistency.
What if the first image is not correct?
Use semantic editing to replace objects, refine details, or extend the scene while keeping the image coherent.
Summary
Creating POV images with Nano Banana 2 is mainly about clarity and control. Start with a precise first-person prompt, define the action and setting, and use references when consistency matters. Then refine the output semantically until the perspective feels natural and the composition supports your goal.
If you want reliable POV visuals for travel, food, gaming, product marketing, or storytelling, Nano Banana 2 gives you a practical workflow: prompt clearly, generate quickly, edit smartly, and reuse what works.