
How Do I Create Images with AI in Nano Banana?
How Do I Create Images with AI in Nano Banana?
If you want to create AI images in Nano Banana, the core idea is simple: provide a clear prompt, add reference images when needed, choose your output settings, and generate a visual that can be refined iteratively. This article explains how the workflow works, what the model is good at, and how to get better results for posters, product visuals, branded content, and story-style images.
What Nano Banana Is and Why It Matters
Conclusion: Nano Banana is designed for text-to-image and image-to-image creation, with strong support for editing, style consistency, and multilingual typography.
Nano Banana is a Gemini 3 Pro-based visual model that combines image generation, image editing, and multimodal understanding. It is built to help users create visuals directly in the browser, including ecommerce hero shots, marketing posters, and storyboard-style content.
What makes it useful is not just image generation, but also the ability to:
- generate from text prompts or image references
- perform semantic edits
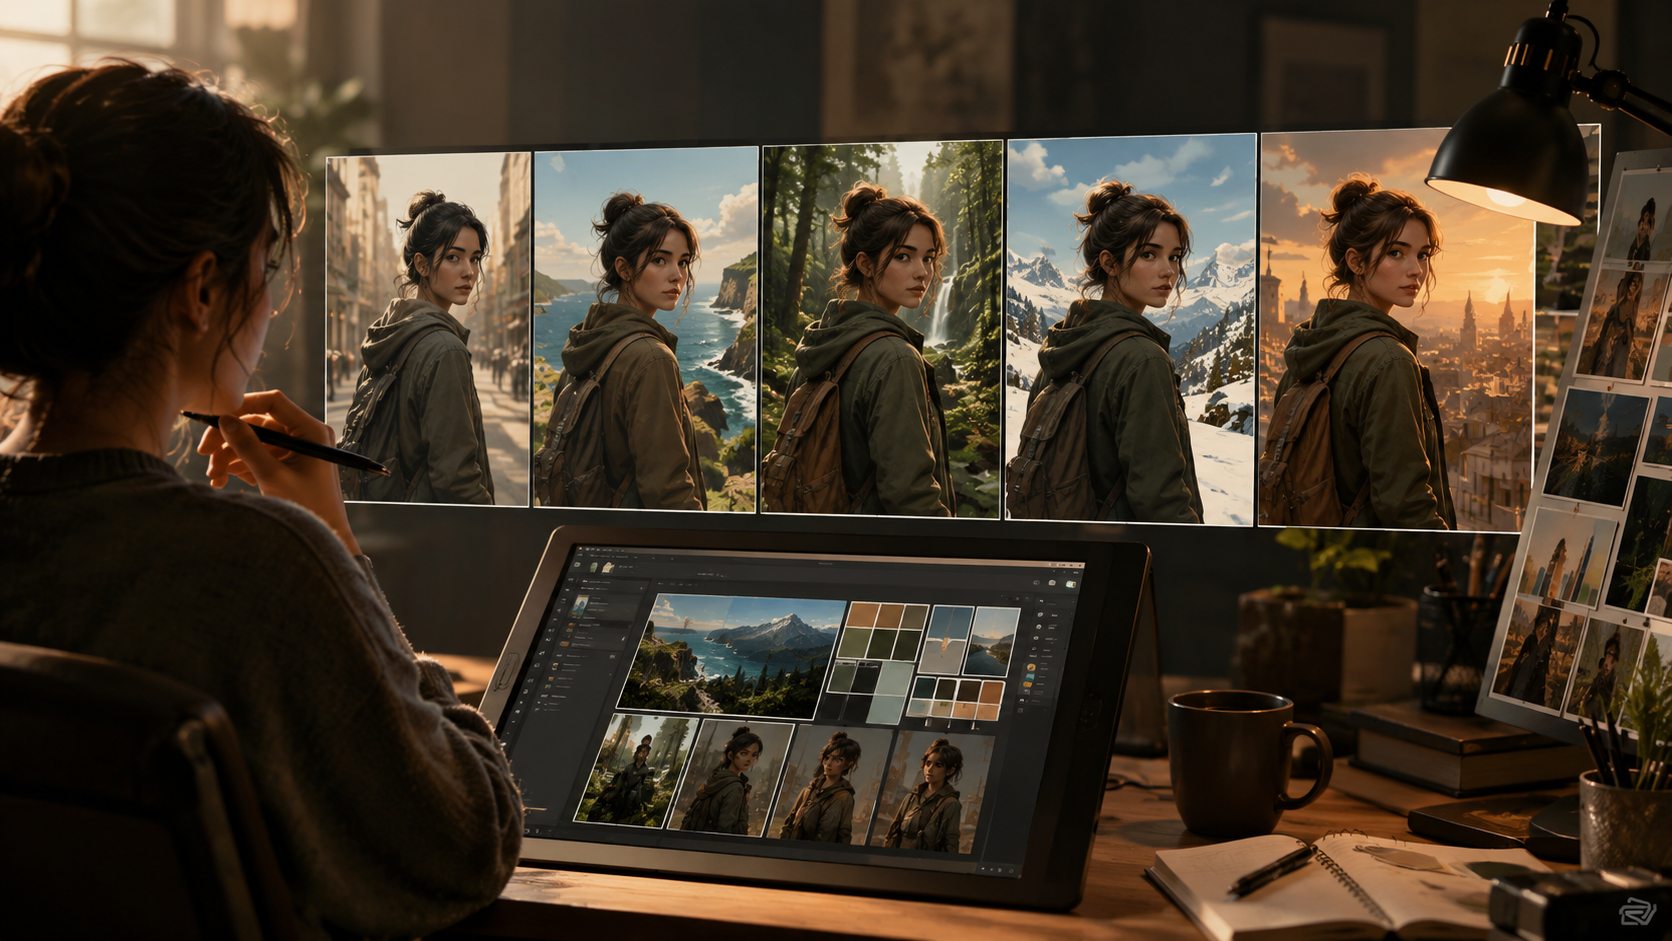
- preserve characters and branding across multiple visuals
- support 1K, 2K, and 4K output options
- handle text and layout more cleanly than many generic image tools
Practical advice: Use Nano Banana when you need both creation and editing in one workflow, especially for content that must stay visually consistent across a series.
Step-by-Step: How to Create Images with AI in Nano Banana
Conclusion: The process is straightforward: write a prompt, add references, generate, refine, and export.
1) Define your goal clearly
Start by deciding what you want to make. Nano Banana works well for product shots, ad creatives, posters, infographics, and editorial-style images.
Ask yourself:
- What is the subject?
- What style do I want?
- Is this for social media, ecommerce, or internal branding?
- Do I need text inside the image?
Practical advice: Write one short sentence that describes the image purpose before you start prompting. This keeps your generation focused.
2) Add prompts and reference images
Nano Banana allows you to set prompts and references, with support for up to 14 reference images. This is useful when you want the output to match a product, person, brand style, or composition.
A strong prompt usually includes:
- subject
- style
- scene or background
- lighting
- color palette
- text language, if any
- framing or aspect ratio
Example prompt structure:
- Subject: a premium skincare bottle
- Style: clean editorial product photography
- Scene: on a white marble surface with soft shadows
- Lighting: bright natural light
- Text: minimal English typography
- Output: square composition
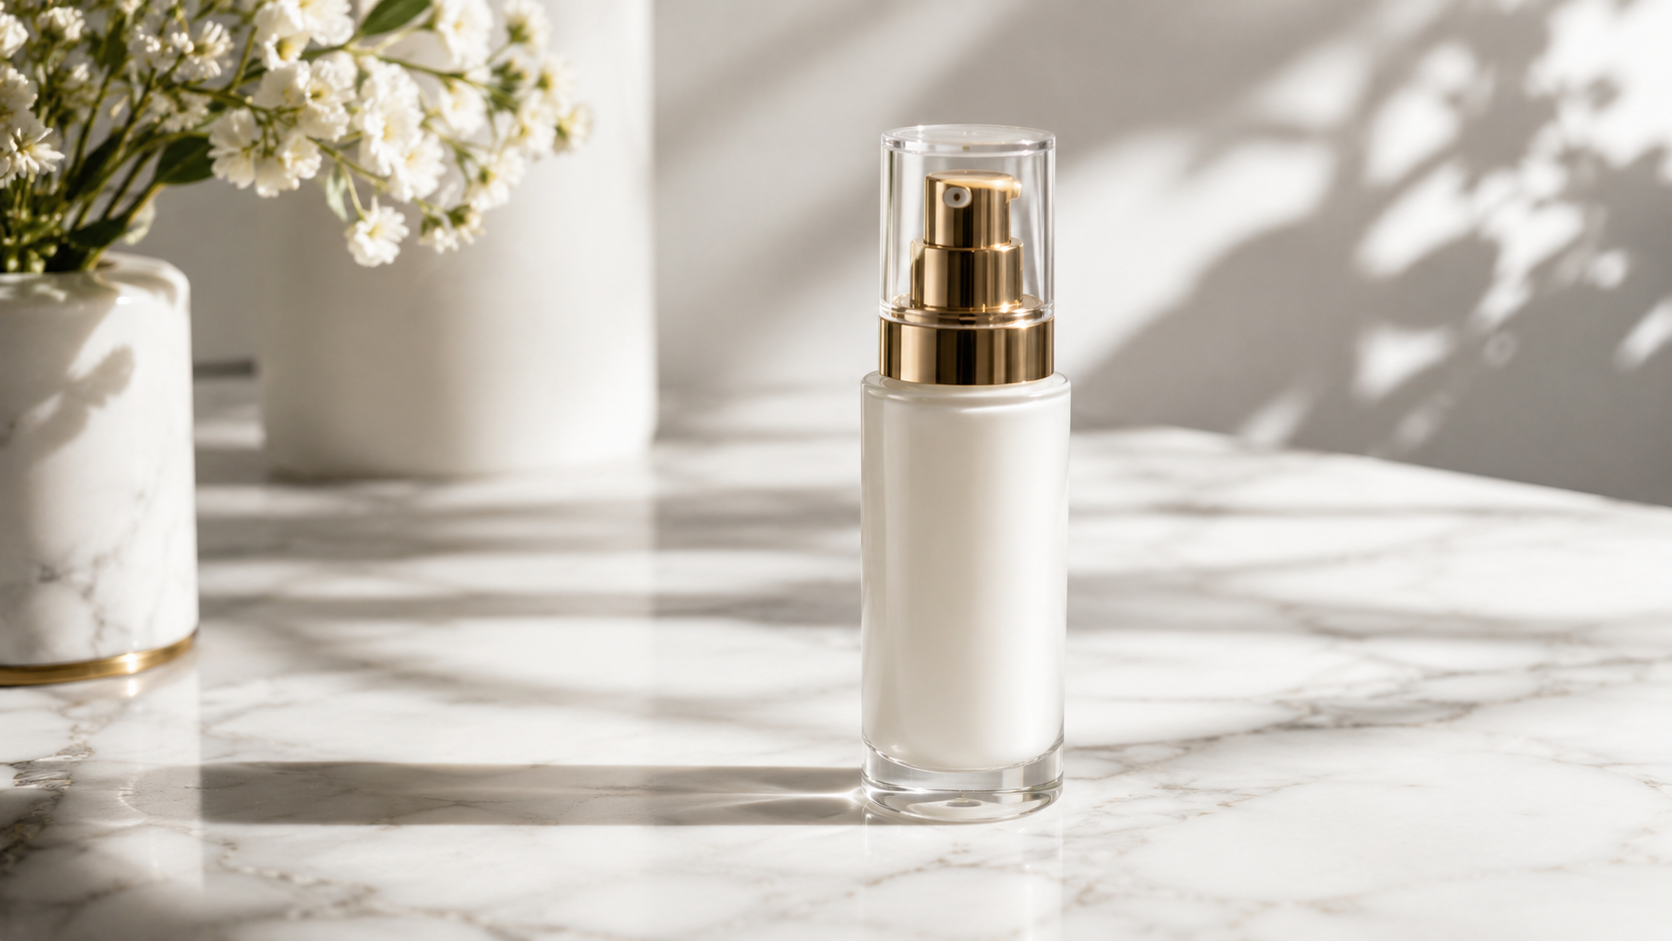
Practical advice: If your goal is consistency, upload reference visuals that clearly show the product, character, or visual tone you want to preserve.
3) Generate the first version
Once your prompt and references are ready, choose your resolution and ratio, then generate the image. Nano Banana can produce the first pass quickly, which makes it suitable for rapid iteration.
The first output is usually not the final version. Instead, treat it as a draft that you can improve.
Practical advice: Generate multiple variations if your project has strict quality requirements. The first result helps you judge composition, but refinement usually brings the best outcome.
4) Refine with semantic edits
Nano Banana supports smart edits and repainting, which means you can change parts of the image while keeping the rest of the scene coherent. This is especially useful when you want to:
- replace objects
- extend the canvas
- remove unwanted marks or watermarks
- refine details
- adjust layout without rebuilding the whole image
Because the model uses semantic editing, the changes are intended to respect context, lighting, and overall structure.
Practical advice: Make one edit at a time. If you change too many elements at once, it becomes harder to identify what improved or broke the image.
5) Export and reuse
After the image looks right, export it in your chosen resolution. Nano Banana supports 1K, 2K, and 4K outputs, which makes it suitable for different publishing needs.
You can also reuse the same characters and styles in future series, which is especially helpful for campaigns or multi-post content.
Practical advice: Save your best prompts and reference sets as reusable templates. This speeds up future production and helps keep visual consistency.
Best Use Cases for Nano Banana Image Creation
Conclusion: Nano Banana is especially strong when you need quality, consistency, and editable visuals.
Here is a simple overview of where it fits best:
| Use case | Why it works well | What to focus on |
|---|---|---|
| Ecommerce hero shots | Clean visuals and product clarity | Lighting, background, composition |
| Marketing posters | Strong text rendering and layout support | Typography, hierarchy, spacing |
| Storyboards | Consistent characters and scenes | Character identity, continuity |
| Brand visuals | Style consistency across multiple images | Color palette, brand elements |
| Infographics | Crisp text and readable detail | Copy accuracy, contrast, spacing |
Practical advice: Choose Nano Banana when the image must do more than “look good.” It is particularly valuable when readability, brand alignment, or repeated visual identity matter.
Tips for Better AI Image Results
Conclusion: The quality of your output depends heavily on prompt clarity, reference quality, and iterative editing.
Use specific language
Avoid vague prompts like “make it beautiful.” Instead, define what beautiful means in your context.
Better examples:
- “minimal luxury skincare packaging on a white background”
- “modern fintech poster with bold blue accents and clean typography”
- “friendly character illustration with soft shadows and warm tones”
Keep references aligned with the target style
If your references conflict with your prompt, the result may feel inconsistent. Try to keep the references visually similar in mood, lighting, and subject type.
Prioritize one main objective per image
An image that tries to do too much can become cluttered. If you need one version for product focus and another for storytelling, generate them separately.
Refine in layers
Instead of editing everything at once:
- fix composition
- adjust subject details
- improve text or typography
- polish background and lighting
This layered method is more controllable.
Reuse what works
If a certain character design, brand palette, or layout is successful, keep it as a base for future iterations.
Common Mistakes to Avoid
Conclusion: Most poor results come from unclear input or overly complex requests.
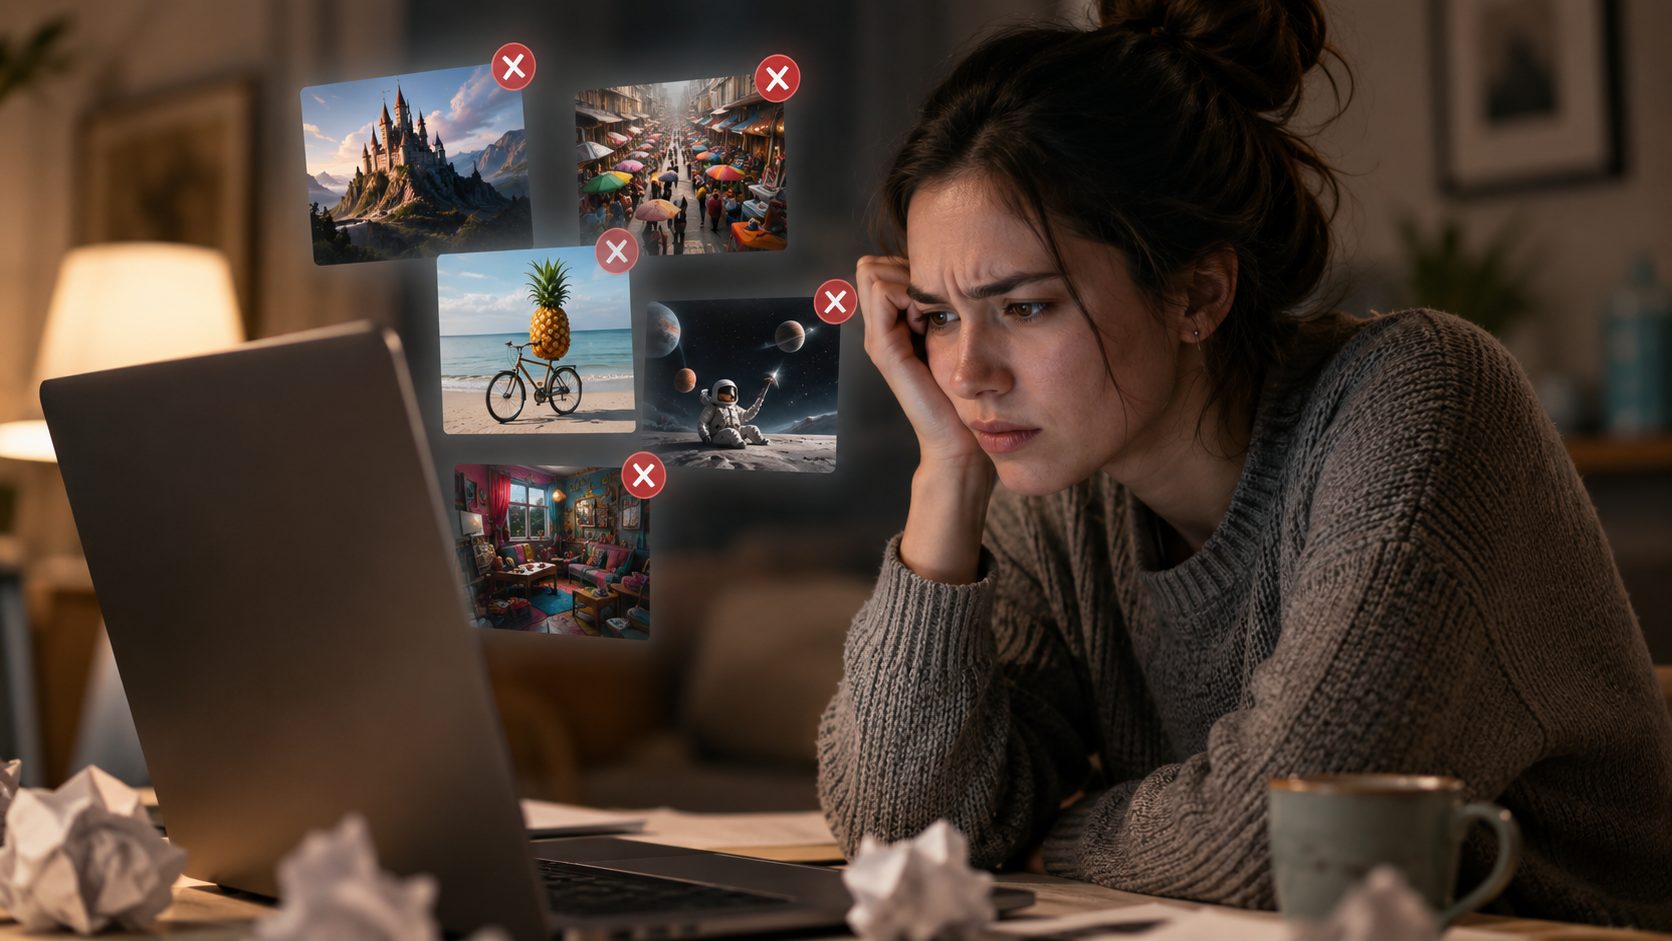
Watch out for these issues:
- writing prompts that are too short or too generic
- using references that do not match the intended style
- requesting too many edits in one pass
- ignoring aspect ratio and resolution needs
- expecting the first draft to be final
- adding too much text into the scene without checking readability
Practical advice: When the result looks off, simplify the prompt first before changing the model direction. Many issues are caused by ambiguity, not by generation quality.
FAQ
Can I create images from text only in Nano Banana?
Yes. Nano Banana supports text-to-image generation, so you can start from a prompt alone. If you want more control, add reference images.
Can I edit existing images in Nano Banana?
Yes. The model supports image editing and semantic refinement, including object replacement, canvas extension, and removal of unwanted marks.
Does Nano Banana support different output sizes?
Yes. It supports 1K, 2K, and 4K output options, so you can choose based on your publishing needs.
Can I keep the same character across multiple images?
Yes. Nano Banana is designed for consistent characters and branding across scenes, which is useful for series content and campaigns.
Is Nano Banana suitable for posters and infographics?
Yes. It is designed to handle crisp text and detailed layouts, which makes it suitable for posters, packaging, and infographic-style visuals.
Summary
If you want to create images with AI in Nano Banana, the best workflow is: define your goal, write a clear prompt, add relevant reference images, generate the first version, refine it with semantic edits, and export the final output in the right resolution.
Nano Banana is especially useful when you need:
- strong text and layout support
- consistent branding or characters
- fast iteration
- editable results
- outputs for marketing, ecommerce, and visual storytelling
For the best results, keep prompts specific, use aligned references, and refine one step at a time. That approach will help you turn Nano Banana into a practical AI image creation tool rather than just a one-click generator.